

Opening a restaurant is a whirlwind of emotions. There’s the excitement of the first tasting, the stress of the permit office, and the sheer overwhelm of looking at an empty shell of a building and wondering, "Where does the walk-in go?"
If you’re feeling the pressure, you aren’t alone. At IFS Innovations, we’ve seen it all: from high-end steakhouses like Primal Steakhouse to high-volume sports bars. The secret to a successful launch isn't just a great chef; it’s a kitchen that works with you, not against you.
Planning your layout and selecting the right commercial kitchen equipment is the most critical part of your buildout. It’s the engine room of your business. If the engine is clunky, the whole ship slows down. Here is our straightforward, five-step guide to getting it right the first time.
1. Let Your Menu Drive the Design
It’s tempting to start browsing shiny catalogs of high-tech ovens, but you need to stop and look at your menu first. Your menu is the roadmap for every single piece of equipment you’ll buy.
Before you draw a single line on a floor plan, ask yourself:
- What are my signature dishes?
- What is the projected volume during a Friday night rush?
- Do I need specialized equipment (like a pizza oven or a dedicated pastry station)?
If your menu is 80% fried food, you’ll need a massive fryer battery and an industrial-strength ventilation system. If you’re a farm-to-table bistro, you might prioritize prep space and high-end sauté ranges. Don't waste money or space on gear you might use. Focus on what you will use every single shift.
Pro Tip: Think about "multi-tasking" equipment. For example, a combi-oven can steam, roast, and bake, potentially saving you the footprint of three separate units.

2. Identify Your Five Core Kitchen Zones
A functional kitchen isn't just one big room; it’s a series of stations working in harmony. To keep things organized, you need to define five specific zones:
- The Cookline: This is the heart of the action. It includes your ranges, grills, fryers, and ovens.
- The Prep Area: This is where the magic (and the mess) happens before service. You need plenty of durable, custom stainless steel surfaces here.
- Dishwashing Area: Often overlooked but vital. This area needs to be tucked away but accessible, with a clear path for soiled dishes to enter without crossing paths with fresh food.
- Storage: This includes your dry storage, walk-in coolers, and freezers. At IFS Innovations, we emphasize placing these near the receiving dock to minimize the distance heavy crates have to travel.
- The Expo Area: The final stop. This is where the chef plates the food and the servers pick it up. It needs to be wide enough to prevent "traffic jams" between the kitchen and the dining room.
IFS Advantage: We specialize in custom millwork and stainless steel fabrication. When standard "off-the-shelf" tables don't fit your weird corner, we build the piece that fits perfectly, ensuring no square inch is wasted.
3. Select Your Kitchen Layout Style
How your staff moves depends entirely on the layout style you choose. There isn't a one-size-fits-all answer, but here are the most common configurations we see:
- Assembly Line: Perfect for fast-casual spots (think build-your-own bowls). It’s a straight shot from prep to cooking to service.
- Island Layout: All the heavy cooking equipment is in the center, with prep and storage on the perimeter. This is great for communication and supervision in larger kitchens.
- Zone-Style: The kitchen is divided into "blocks" based on the task. For example, a salad block, a fry block, and a grill block.
- Galley Layout: Ideal for tight, narrow spaces. Everything is pushed to the perimeter walls, leaving a central lane for staff movement.
Choosing the right layout early prevents the "collision course" that happens when a prep cook and a server are constantly bumping into each other.
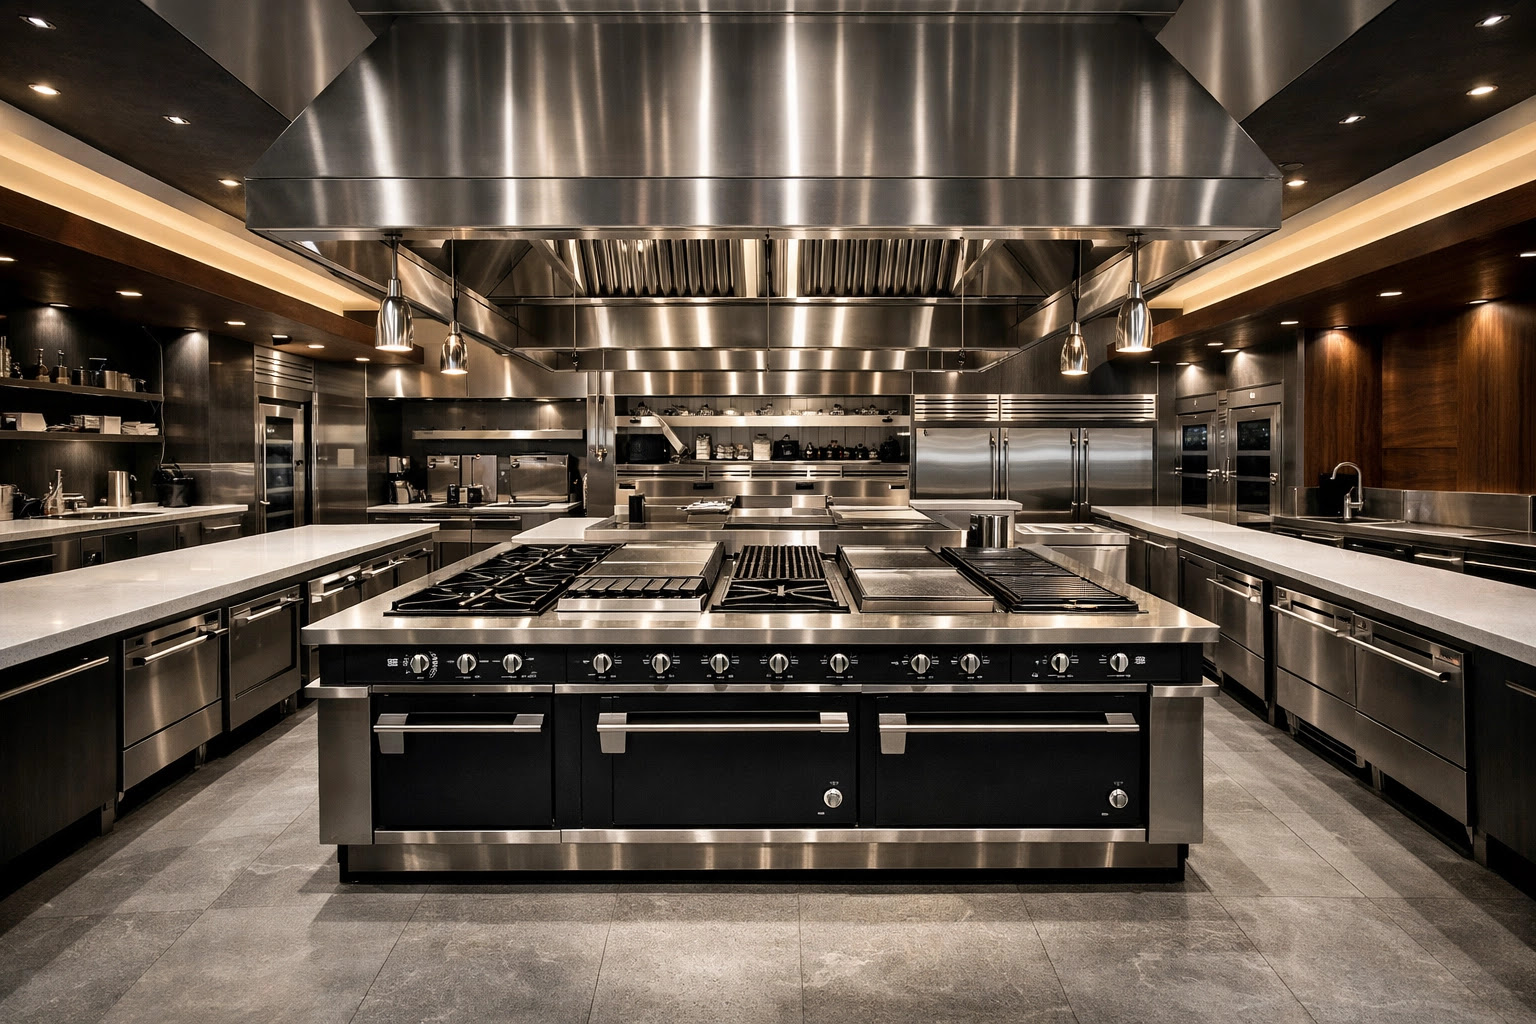
4. Strategic Equipment Selection and Procurement
Now comes the fun part: buying the gear. But beware: this is where budgets can spiral out of control. When selecting commercial kitchen equipment, you aren't just looking for the cheapest price. You’re looking for durability and efficiency.
When you work with a team like ours, you benefit from a single-source solution. Instead of juggling five different vendors for your ovens, your walk-ins, and your custom seating, you have one point of contact. One team, one contract. This drastically reduces the risk of ordering a $10,000 range that won't actually fit through your door.
When picking your equipment, consider:
- Energy Efficiency: Look for Energy Star ratings. It might cost more upfront, but your monthly utility bill will thank you.
- Ease of Cleaning: Can the equipment be moved? Does it have "sanitary" corners?
- Local Serviceability: If your fryer breaks on a Saturday night, is there a local tech who can fix that specific brand?

5. Optimize for Workflow and Space Efficiency
Space is money. Every square foot of your kitchen is a square foot you aren't using for revenue-generating dining seats. However, if you cram the kitchen too much, your staff becomes inefficient, and ticket times skyrocket.
To optimize the flow:
- Minimize Steps: The person on the grill shouldn't have to walk 20 feet to get a steak out of the fridge.
- Separate In and Out: Designate one door for servers entering the kitchen with dirty dishes and another for exiting with full trays.
- Think Vertically: Use wall-mounted shelving and magnetic tool strips to keep counters clear.
Pro Tip: Before you bolt anything to the floor, do a "dry run." Tape out the equipment footprints on the floor and have your lead chef walk through the motions of making a few signature dishes. You’ll quickly find out if the oven door hits the prep table when it’s open.